Use of a digital signature in Perfect Fit requires the Security module and the Form Editor module.
Part A:
Scan your signature and load it on your computer. Then from within Perfect Fit go to:
Menus > Maintenance > Maintenance > User Administration.
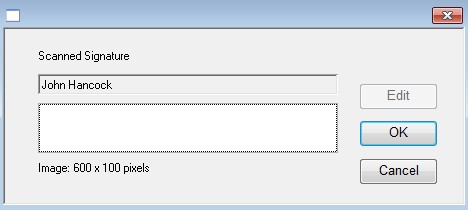
Highlight the name of the user you want to attach a signature to and click the Signature button. The Scanned Signature window will open with the
name of the person you selected and a blank field. Using a paint program (such as Microsoft Paint) open the signature you scanned in and saved to your computer.
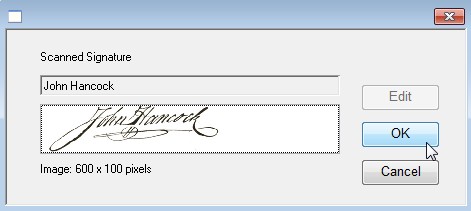
Copy the signature file and paste it into the empty field. Then press OK and close the User Administration windows.


Part B:
Open the Form Editor via a New Variation or by editing an existing . In the bottom left of the window, in the General tab, place
a check in the Private checkbox.

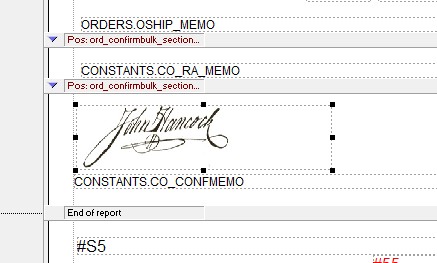
Then click the small ABC icon in the top right of the window and draw a box where you want the signature to appear on the form.
![]()
Next, click the icon next to “dataname” in the bottom left of the window. You will be prompted to select a table but just close that window
and you will see the signature appear in the form.

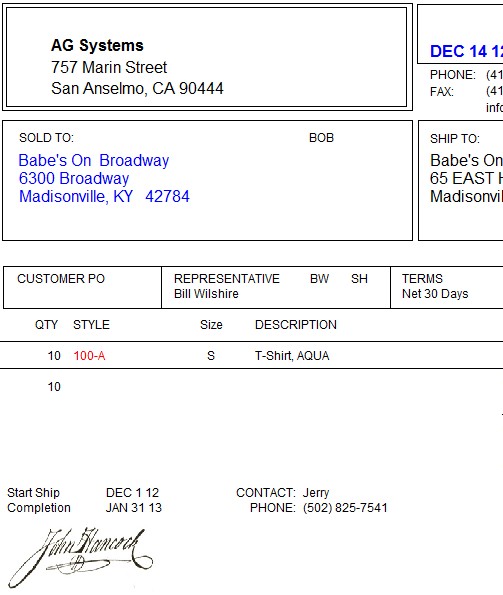
Resize and reposition the signature as necessary. Then click Finish. When you print the form the
signature will be embedded.

Note: Only the person who created the report will have visibility and access to the signed report.
No one else will be able to print the form with your signature.
Copyright © AS Systems, All Rights Reserved | WordPress Development by WEBDOGS