You must set up your customer information and enter styles into the Inventory Style Master before you can enter an order.
To enter an order go to Menus > Customers. Select the “Find” button and enter the customer name, then click “OK”. The Customer window will open. Go to the menu bar and select Commands > Insert Order. An Order window will open with the customer default information filled in (today’s date, terms, ship via, ship address, etc.) but Perfect Fit allows you to change these fields for each order e.g. COD or UPS red. Tab through the fields and enter information such as the date of the order, customer PO #, terms, ship dates, etc.
Once you tab through completely, you will be at the Order Detail window. Enter the stock #, quantity, and price. Prices can be adjusted for this order if needed. After entering the line items, click the “Page” button. This will bring you back to the Order window. Click OK.
After you have entered the order, if you need to change shipping or other information, you can select the “Shipping” or “Info” buttons which will bring you to the Order Shipping window or Order Information window. If the Delete button is clicked, orders can be deleted without a trace if that option is selected.
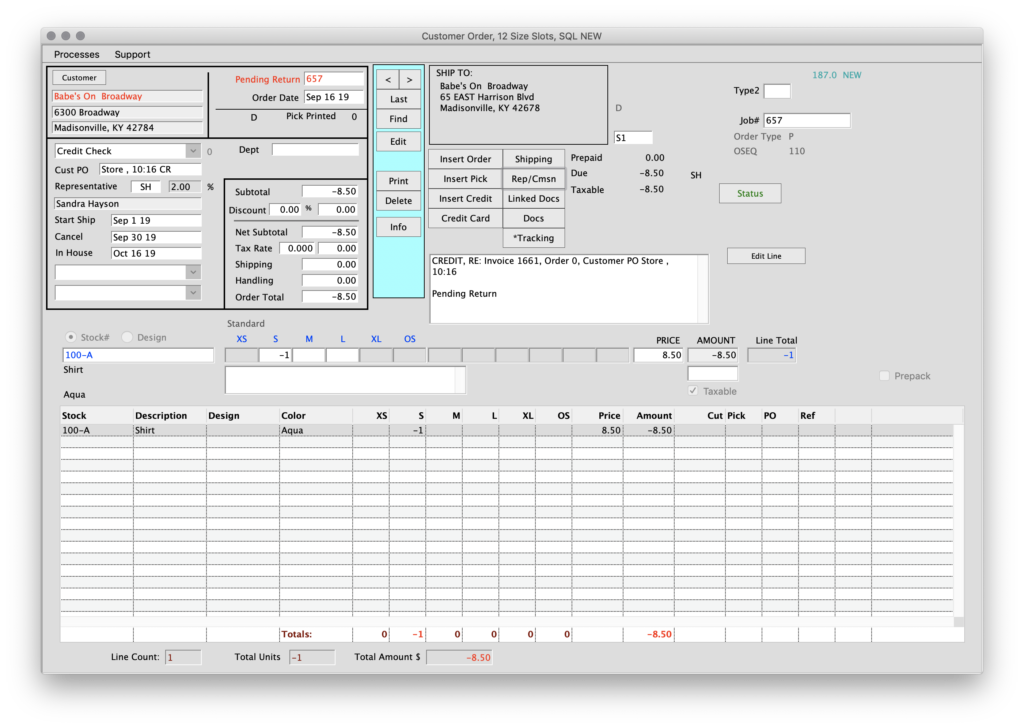
When you enter an order, this order will show up in the order reports with the total dollar amount. If you forget to enter a quantity for the line item, the order will not have that $ amount on the order. If the $ amount is 0, the order will not print but still shows on the order summary report. Open pick tickets which complete the order will also show on the report but will have a $ 0.00.
Once an order is ready to be shipped you can insert a pick ticket (used for shipping and distribution information) or invoice directly from the order. If you inserted a pick ticket, you will be prompted to insert the invoice from the pick ticket window.
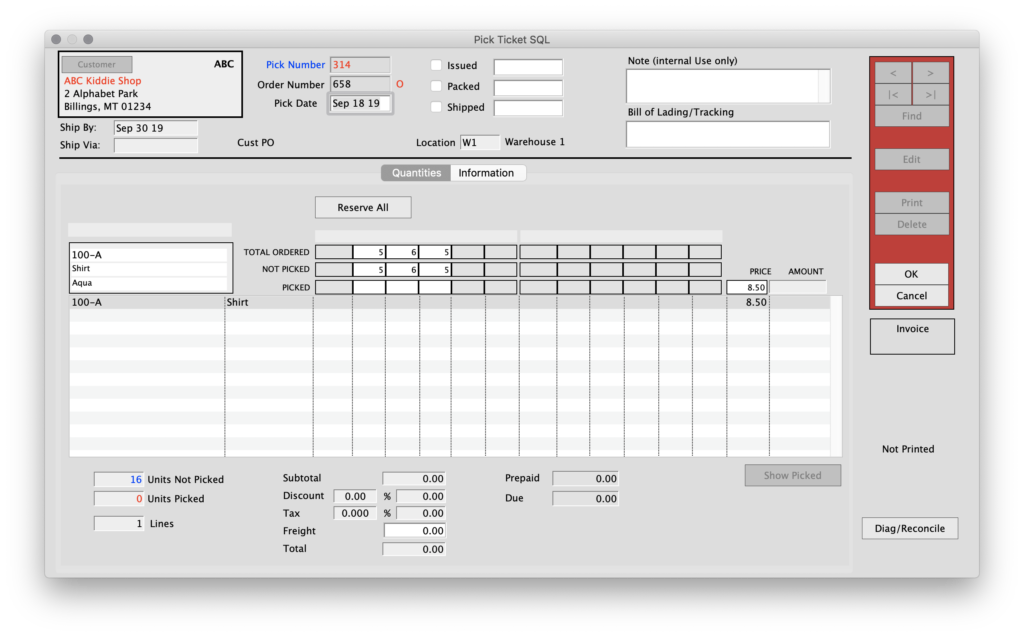
To insert a Pick Ticket, go to Menus > Orders . Bring up the order for the pick ticket. On the menu bar choose Pick > Insert Pick. The Pick Ticket window will open for that order. Tab through and fill in the fields. Once done, click the “Reserve All” button. If you do not have some of the items in stock, the pick ticket will not pick (reserve) those items. The balance will show as an unreserved back order. When you are ready to Invoice, select the “Insert Invoice” button on the Pick Ticket window.
To insert an invoice directly from the order, bring the order to screen. From the menu bar select Commands > Insert Invoice. A message box confirms the order # to invoice and allows you to edit if needed.
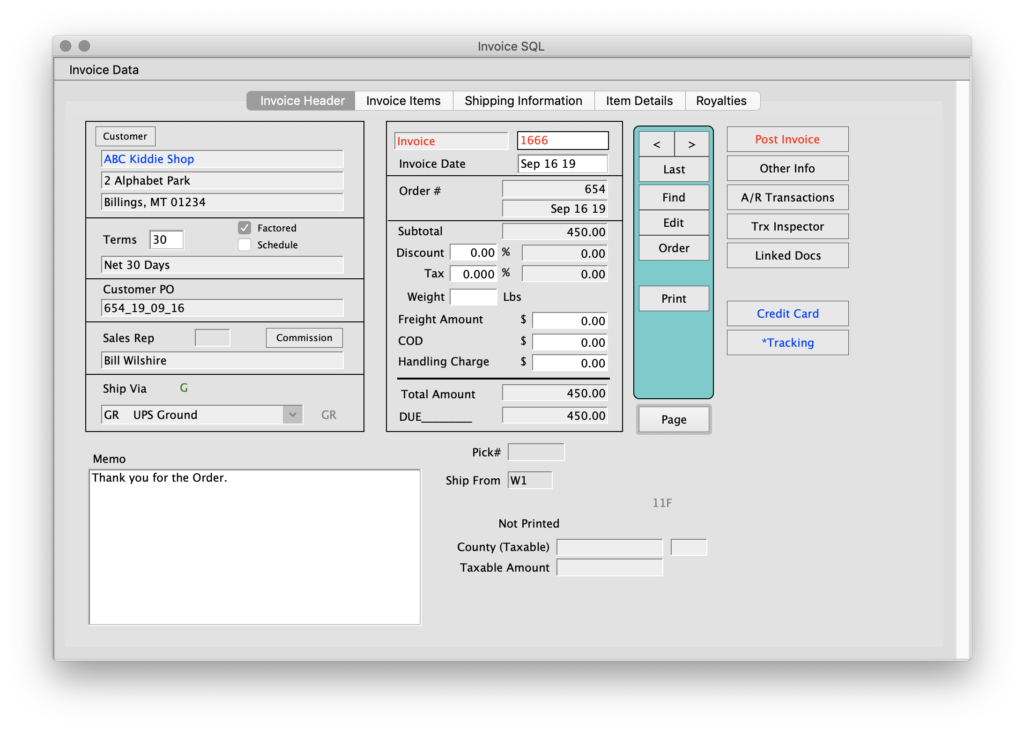
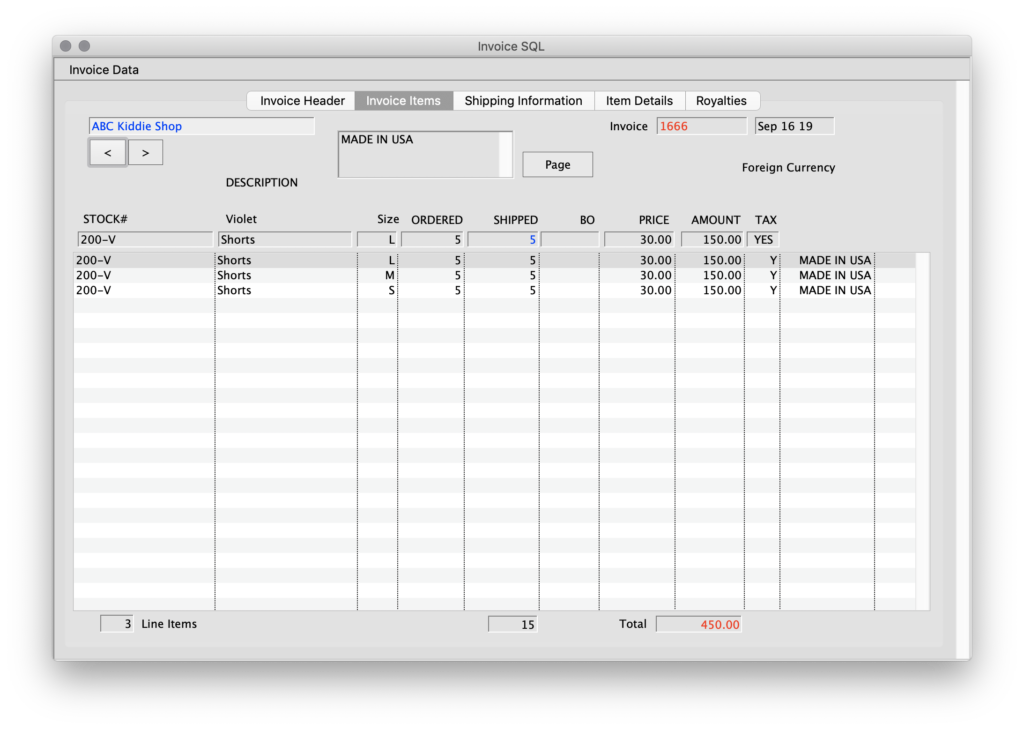
Tab through the fields and you will be at the Invoice Detail window. If the order was partially shipped, enter the quantities shipped by tabbing through the “SHIP” box of each line item. If the order was shipped complete, choose the “Ship All” button. When finished, select the “Page” button which will bring you back to the Invoice window. Click “OK”. To post invoices go to the menu bar and select Commands > Post Invoices. Once invoices are posted, any completed orders and pick tickets will be converted into invoices and removed from the order and pick ticket files.
Perfect Fit tracks the different stages of the order to invoice process by style. To see these stages go to Menus > Inventory >Inventory > Style Master > Inventory – Style Master window. Click the “Qty” button. The Inventory Quantities window shows the different stages. When an item is entered on an order, it will show up in the Unreserved Orders line. If an order has a pick ticket issued, it will show up in the Reserved Orders (Picks) line. If an order has been partially invoiced and there are still items open on that order, it will show up on the Unreserved Back Orders line.
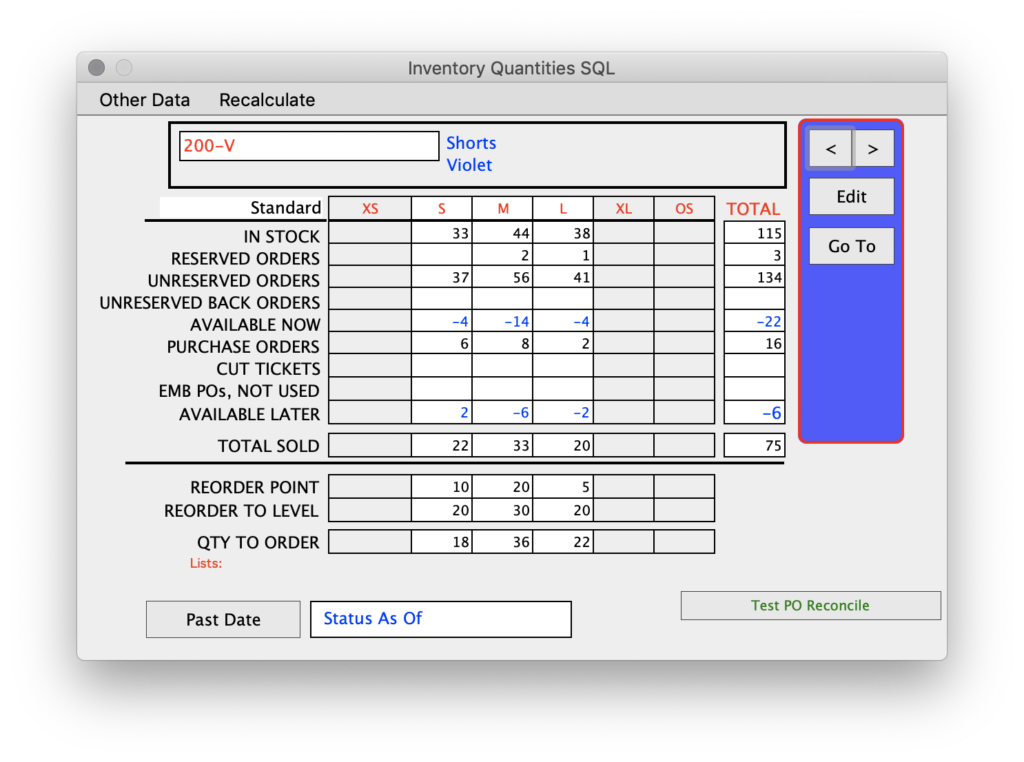
Once invoicing takes places and the invoice is posted, any items from that order are moved from the above order stages and will show in the Total Sold line. If the order is shipped complete, the order is completely removed and there is no record of that order unless you printed a copy.
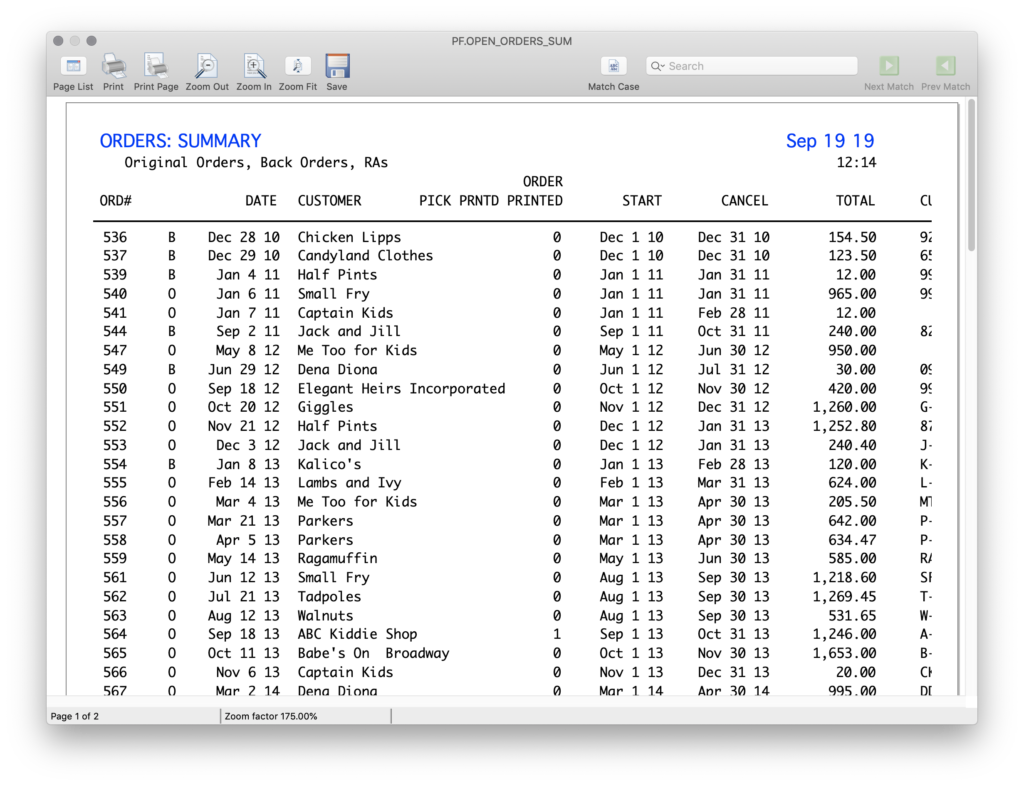
We recommend printing up an order summary report on a daily or weekly basis so there is a record of the orders. Menu > Orders > Reports > Customer Orders. Select the type of report, sort by, and search range.
Copyright © AS Systems, All Rights Reserved | WordPress Development by WEBDOGS