The Perfect Fit Library file. This file controls the user interface, data processing, and contains definitions for menus, reports, and windows.
Click the DropBox link that we sent you via email.
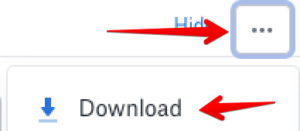
Once on the DropBox site, select the zipped update file and click the box to the upper right with three dots and click download:

Note: This guide assumes you already have the PF Opener File (File name: PERFECT_FIT) installed. If you do not, follow the instructions on this page then return back to this wiki entry to finish installing the Perfect Fit Library file.
Unzip the library file.
Different computers may have different software for unzipping files.
You can usually double click the Zipped file, and in the window that opens, right click the PF7 file, and select COPY.
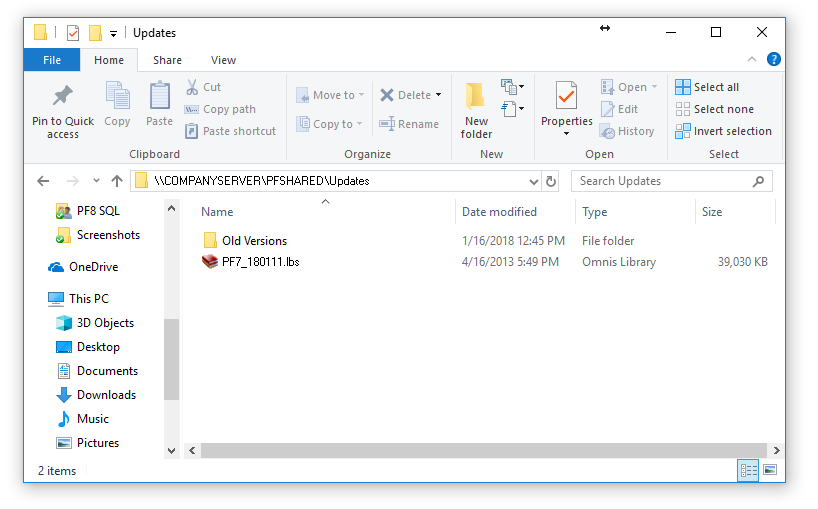
Navigate to the location of your “PFSHARED” folder. In some cases this will be on the C drive of your computer, but for most it will be on a separate Server location (you may need to contact your Systems Administrator if you don’t have authority or don’t know how to access this). Once you have located the folder go into the Updates subfolder (if it doesn’t exist you will need to create it).

STEP 4) Go into the “Updates” folder, right click on an empty area and select “Paste”. If you happen to have older library files here you can drag them into the “Old Versions” folder to keep this folder tidy.
STEP 5) Open Perfect Fit by double-clicking on your Opener File. Upon launching, Perfect Fit will detect the newly added library file and apply it to your client PC and data file.
You are now finished with the installation of the library and opener file.
Revised by SH-10/2/19
Copyright © AS Systems, All Rights Reserved | WordPress Development by WEBDOGS