*Note: Before inserting a raw material you should be familiar with the correct coding method (this has nothing to do with software programming). More info can be found here: /RAW+MATERIALS+CODING
Also, you should already have your Parts Categories defined via Inventory > Definitions > Parts Categories.
To insert a Raw Material go to Menus > Inventory > ..Parts (Raw Materials).
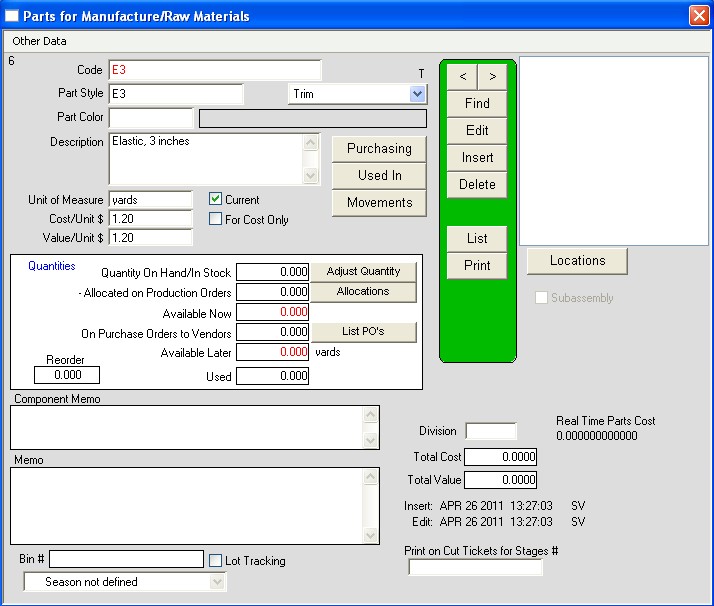
You will see the Parts for Manufacture/Raw Materials window. Press the insert button and fill out the Part Style, Color (optional), Description, Unit of Measure, Cost/Unit $, Value/Unit $, Memo (optional). Then select the dropdown (next to the Find button) to choose the part category. When done, press OK.

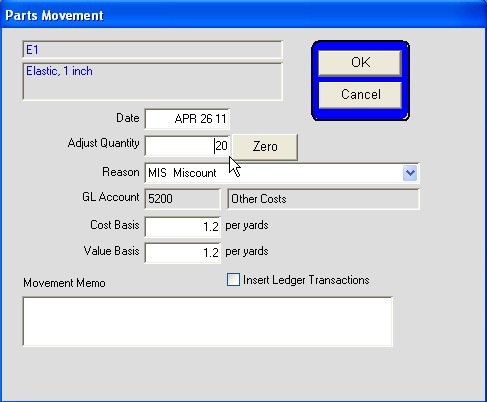
If you want to adjust quantities into stock press the Adjust Quantity button. Fill out the quantity to adjust by (positive numbers increase the quantity, negative numbers decrease the quantity) and select a reason from the dropdown. The other fields are optional. When you’re done press OK.

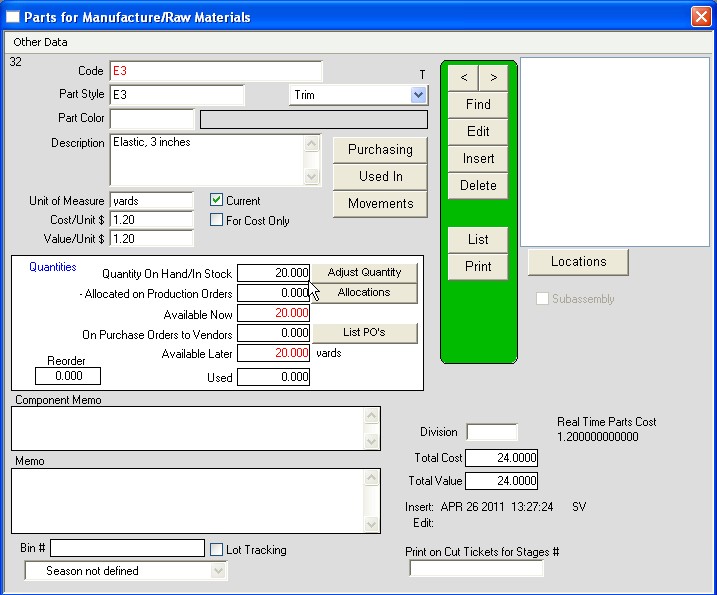
You will now see a quantity in the Quantity On Hand/In Stock, Available Now, and Available Later fields. Also note that the Total Cost and Total Value fields in the bottom right now contain data.

You are now finished entering a Raw Material.
Copyright © AS Systems, All Rights Reserved | WordPress Development by WEBDOGS