Inventory > Commands > ..Batch Adjustments F/G
Note: Most imports will require a .txt file.
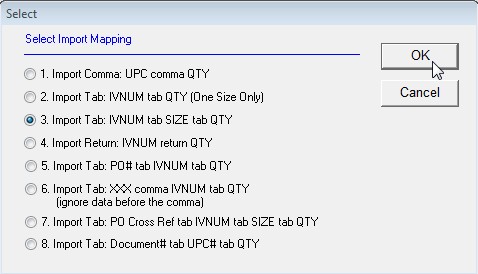
Click Insert then click Import and select the Import Mapping type.

After making your selection press OK. You will then be prompted to open the file for import.
If option 1 is used, “Import Comma: UPC comma QTY”, and the quantity is zero, it will be changed to a 1.
This allows for unit scanning without entering a qty.
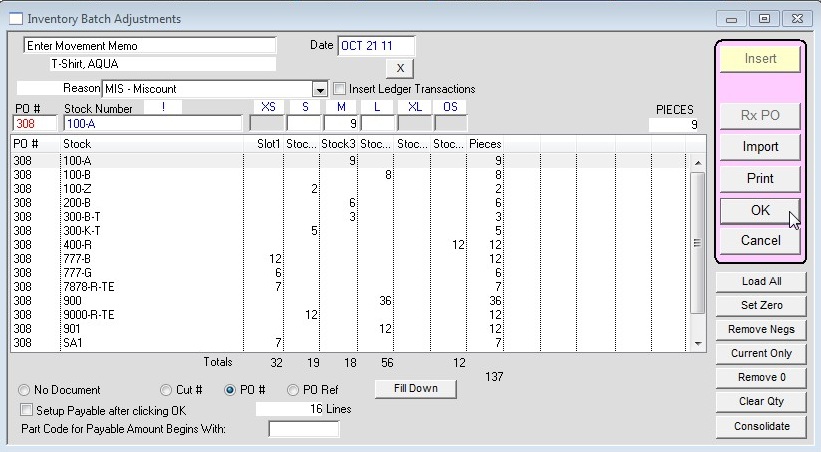
Once the import file is selected the items and quantities will appear in the list.

Select a Reason for the import from the Reason dropdown box at the top of the window then press OK to process the imported quantities.
Notes:
By default the “No Document” option will be selected in the bottom left. This option updates the inventory quantities and movements by the amount you are importing.
You can attach the imported quantities to a Cut Ticket or Purchase order by selecting the appropriate radio button (Cut #, PO #, or PO Ref). These options
update inventory quantities and movements with the imported amount, by receiving on a cut ticket or purchase order.
For example, select the “PO#” radio button. Then enter the number of the purchase order you want to attach the imported quantities to in the field next to the Stock Number (If you want all items to attach to
this same PO press the Fill Down button). Then press OK.
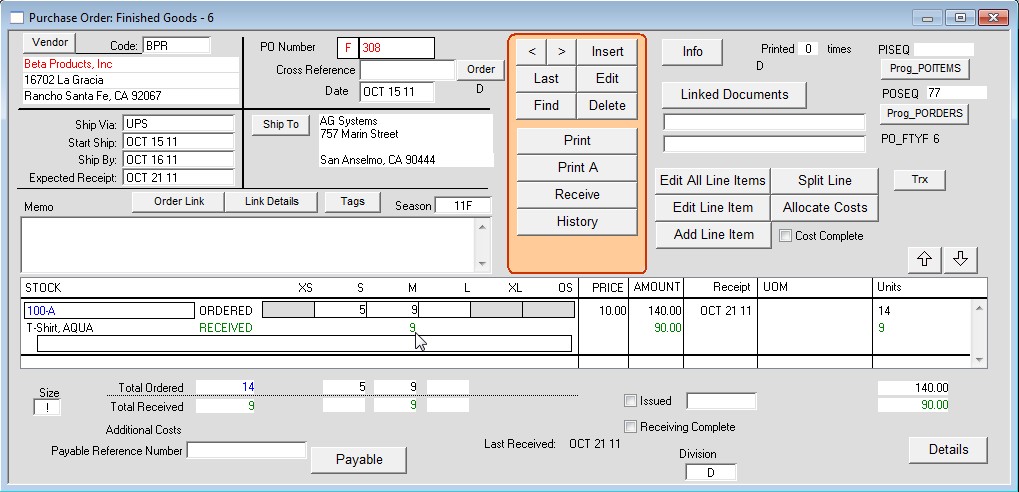
Upon viewing the Purchase order you will see quantities received for the items you imported.

Copyright © AS Systems, All Rights Reserved | WordPress Development by WEBDOGS