To add a logo to a form via the Form Editor you first need to open and edit the logo in a paint/graphics program (i.e. MS Paint, MS Photos, Photoshop, etc.).
Image size should be less than 10kb.
Best Practice: Size the logo using a graphics program exactly as you want it outside of Perfect Fit.
This article will use the Invoice form, but the same concept applies throughout Perfect Fit (i.e. orders, pick tickets…)
MenusSQL > Invoices > Click Print. Below window will populate.
Click the tab Modify.
Click New Variation. (If you have an existing form that you want to add you can make a new variation of that form).
Here we will modify the Standard form.
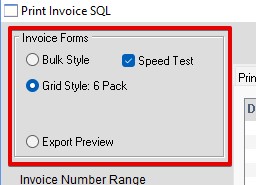
Note: Be sure to pick the correct form (See Red Box). Bulk Style and Grid Style require different forms.

Click Show Paper (no 1).
Make Room for your logo to be inserted (Red Box).
In the case I am going to delete:
tConstants.CO_COMPNAME1 and FAX and tConstants.CO_FAX

Click Edit at the top menu bar 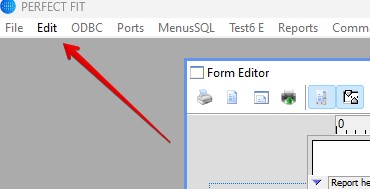
Then Paste From File…
There is space for me to insert the logo.
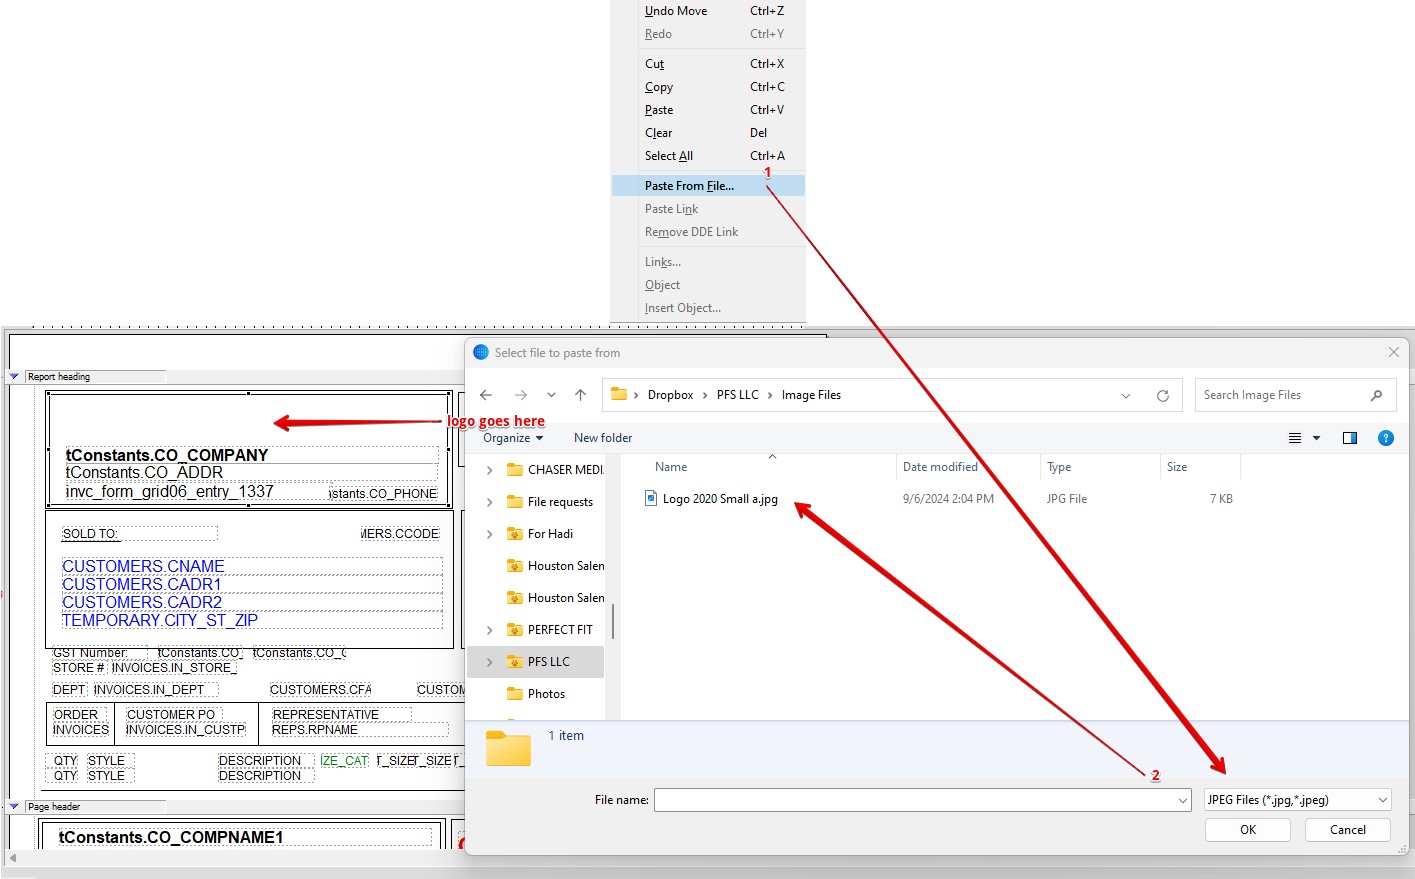
The Logo may need to be resized once placed in the Form Editor.
To resize the logo select the logo by clicking it then drag the corners/edges of the log to increase/decrease the size.
You can also drag the logo to the desired position on the form.
Tip: To fine tune logo placement, click on logo and use arrow keys to mover around.
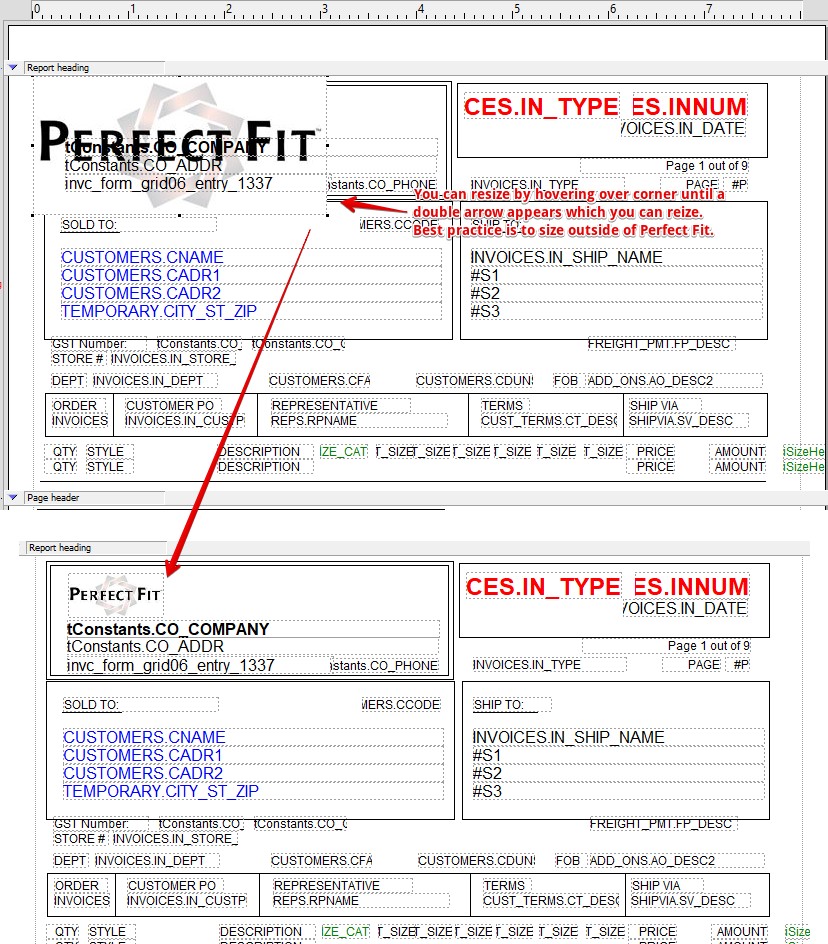
When done click outside in any part of the white area.
Rename your form in the Report Name box.
Tab twice.
Click Save.
Click Finish.

Edited 9/10/2024 – HS
Copyright © AS Systems, All Rights Reserved | WordPress Development by WEBDOGS