
If you have a large number of UPC’s to enter go to Inventory > Commands > Build Styles > Batch Insert UPCs.
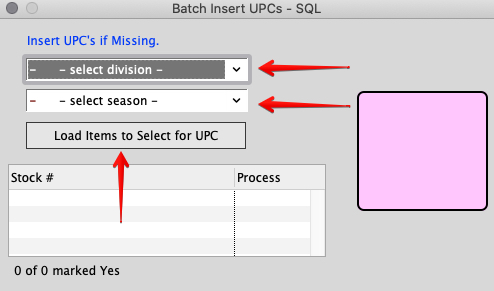
Click the dropdowns for division and season to choose which items to load and click the “Load Items to Select for UPC” button.
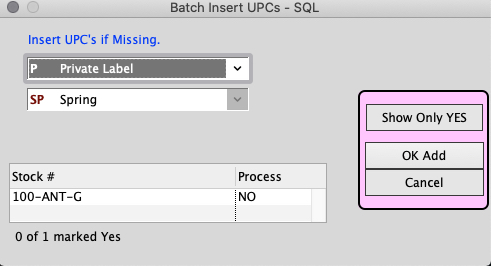
A list will populate with all of your inventory items that match the division and season in the left column and a “NO” in the right column. Each time you highlight a line the “NO” will change to a “YES”. When you are done selecting the items you want to enter a UPC on, press the OK Add button. Another option is to highlight a line then hold the up/down arrow key on your keyboard to quickly scroll through the lines toggling them between YES/NO.
When working with a larger list you can select which ones you want for insert and click show only YES to review your selections before clicking OK Add.
Note: Batch inserting UPC’s does not overwrite, or delete, existing UPC’s. The batch insert process only inserts UPC’s for item sizes that do not currently have UPC’s.
UPC numbers are automatically generated in sequence, however, if you want to start the sequence at a different point you can set your last UPC number used in Inventory Preferences. Menus > Maintenance > Maintenance > Preferences > Inventory > UPC tab.
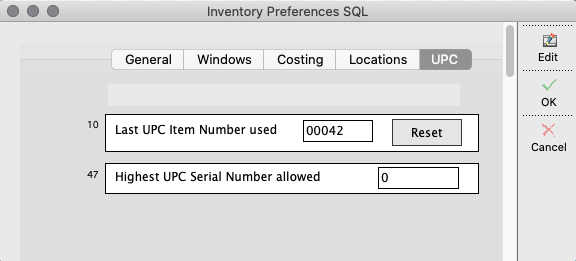
Press Edit then scroll down to the preference Last UPC Item Number Used and enter the desired number then press OK. Once the preference is set, the next time a UPC number is generated it will start at the number which follows the one you just entered.
Inserted 3/30/20 by SH
Copyright © AS Systems, All Rights Reserved | WordPress Development by WEBDOGS