
Perfect Fit 8 has the ability to print barcodes on various forms.
You will need:
– UPC Tools file (aka Azalea Bar Code Fonts). Please contact us.
– UPC ID (optional)
A UPC ID is purchased from Get a barcode | GS1
A company needs a unique UPC identifier which is purchased from the UC Council.
You can print bar codes from any text data, so if you wanted to print bar codes from your Stock#, that can be done and you do not need the UPC ID.
When you have installed the above files you can print barcodes on an invoice through the FormEditor via the following steps:
1) Run the UPC Tools file. It will install UPC Fonts on your computer, which are needed to print barcodes.
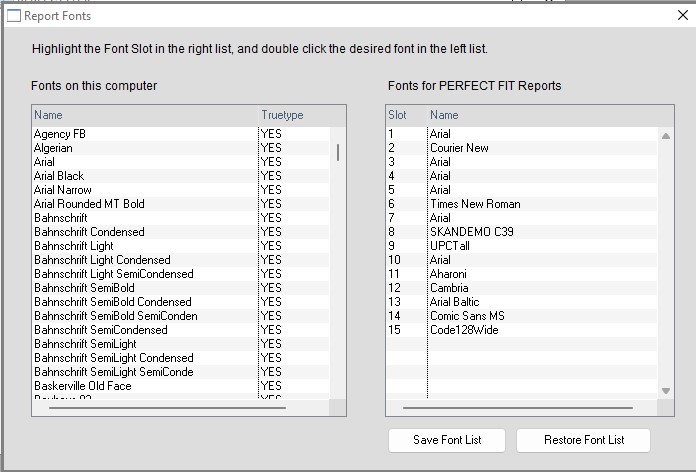
2) Install the UPCTall font in Perfect Fit via MenusSQL > Maintenance > Prog > Library Configuration > Report Fonts.
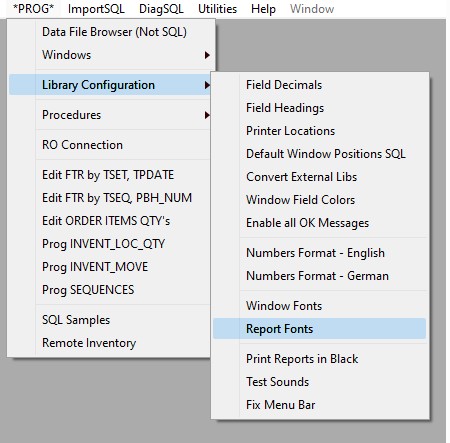
In the right column highlight a font you rarely use (we recommend choosing a font between #5 and #9). In the left column, find and double click the UPCTall font. Answer Yes when asked to assign the new font.
NOTE: You can also install the UPCHalf font, which will print barcodes at half the normal height. This is useful when you want to save space on the form or label.
3) Insert your UPC ID in the required field via Menus > Maintenance > Maintenance > Company Information.
4) Assign UPC codes to your inventory items via MenusSQL > Inventory > Other Data > SKU/UPC.
To set up the Bar Code to print on order or invoices:
Set up up your invoices to print Barcodes via Menus > Invoices > Print A . Choose “Bulk Style” and click “New Variation”. Scroll down until you see the field iShowUPC.
Select the iShowUPC field and change the text value of “0” to a “1” then press the tab key on your keyboard.

Then select the ioCommon field and select the Text tab. Change the font to UPCTall and set the font size to 48 or greater then click the Finish button.
Note: Font size can be the difference between readable and non-readable UPC’s. 3 pts can make a difference.

To set up the Bar Code to print on invoices:
Set up up your invoices to print Barcodes via Menus > Invoices > Print A . Choose “Bulk Style” and click “New Variation”. In this window you will need to insert two fields. Widen the section titled “Pos: section_1169” to make room for the fields you will insert. To do this, drag the “Page Footer” section down.
In the Record section, insert two fields. To do so, click the small ABC icon located in the top right of the window (there are two ABC icons, make sure to choose the small one), then click and drag a box within the Record section. This will create a new field. Repeat to create a second one.
The first field should have a dataname of: INVENT_UPC.IUPC_CODE
The second field should have a dataname of: ioCommon.$convToAzaleaBarcode(INVENT_UPC.IUPC_CODE)
Select the second field and choose the Text tab. Set the font size to 48, or larger, and font name to UPCTall.
To set up the Bar Code to print on Labels:
Within the form editor window, select the Barcode data field, then select the Text tab. Set the font size to 48, or larger, and font name to UPCTall.
Click finish and print the report. It will now print with the barcode.
—
According to Azalea, standard bar codes must be 73 point, but can be reduced in size to 59 point minimum.
3/12/24-HS
Copyright © AS Systems, All Rights Reserved | WordPress Development by WEBDOGS